
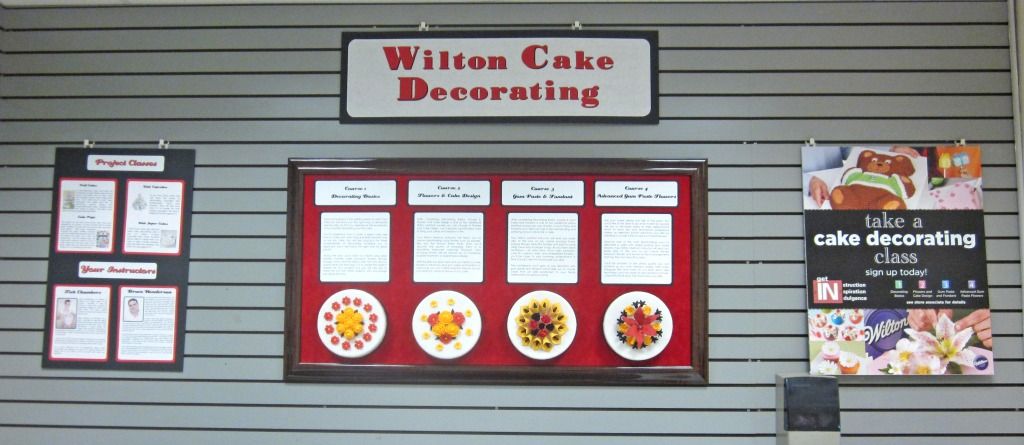
A couple months ago, the frame on our Wilton display board in the classroom broke and the display fell down, crushing the display cakes. Tragic. Except that it meant I was able to make a new, even prettier, display board!
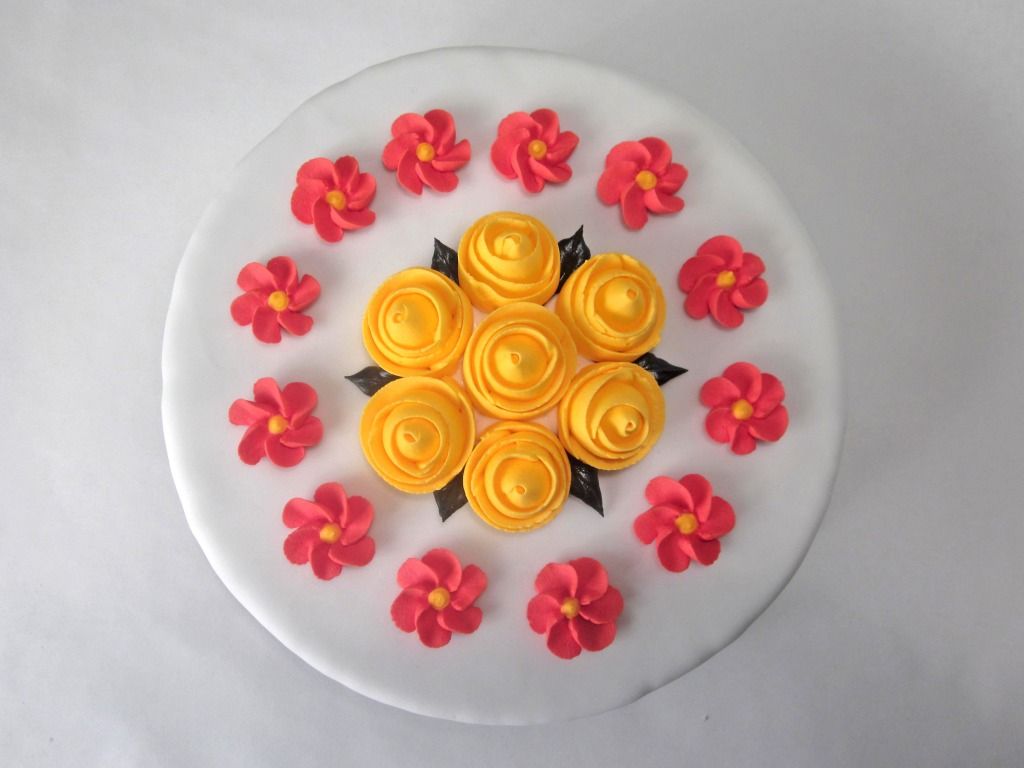
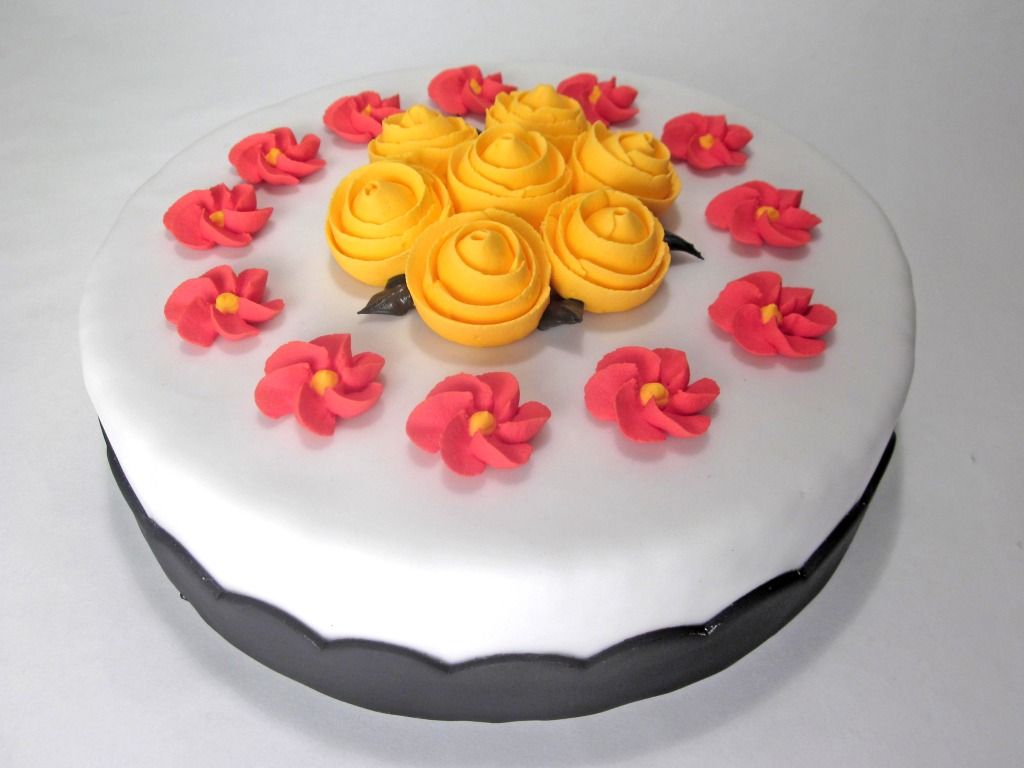
After weeks of planning and being too much of a perfectionist for my own good, I finally got to work and put together my display cakes. I used styrofoam circles as the base, covered them in fondant, and attached my flowers with either royal icing and/or wires (for the gum paste flowers).
I also spent many hours in the classroom measuring, re-measuring, double-checking and finally cutting out all the titles and information on paper. (I think I'm just as, if not more, proud of my precise layout & design of the board as I am of my cakes.)
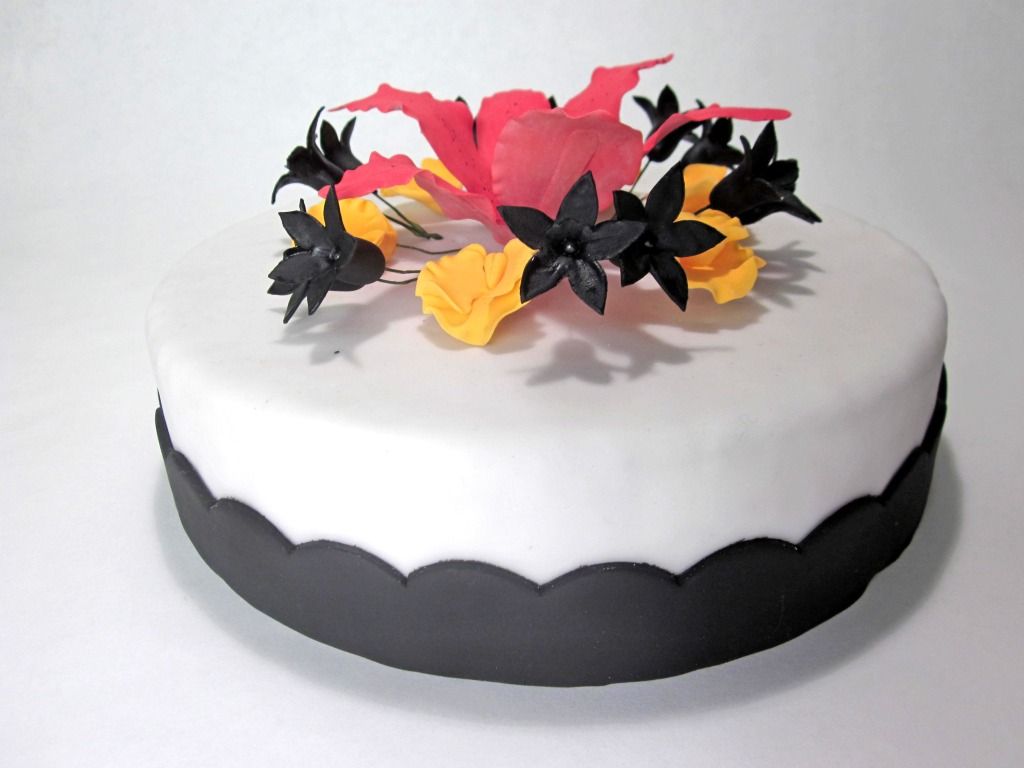
When my manager asked me to do the new display board, she said she had a beautiful red mat for the frame, so that started my brainstorming of a color scheme. It wasn't until I saw a black, white and pink cake that I was inspired. Black and white look so bold together. It would be a dramatic change from the dull and predictable purple, pink and white of the old board. Of course, I would use red on the cakes because of the red background, but I found as I was trying to design flower arrangements that I would need another color. I cruised Pinterest for inspiration and saw a picture using the colors black, white, red and golden yellow. It was beautiful. So, I incorporated golden yellow into my designs.
For the rest of the display board(s), I stuck with the red, black, and white. I was very picky about fonts and text layouts. I was so glad to find a rounded-corner paper punch in the stash of supplies in the classroom because that is exactly the look I wanted. I also had the scrap booking instructor help me use the Cricut machine to cut out the big title letters (in a font as similar to the Creampuff I used on the board as we could find).
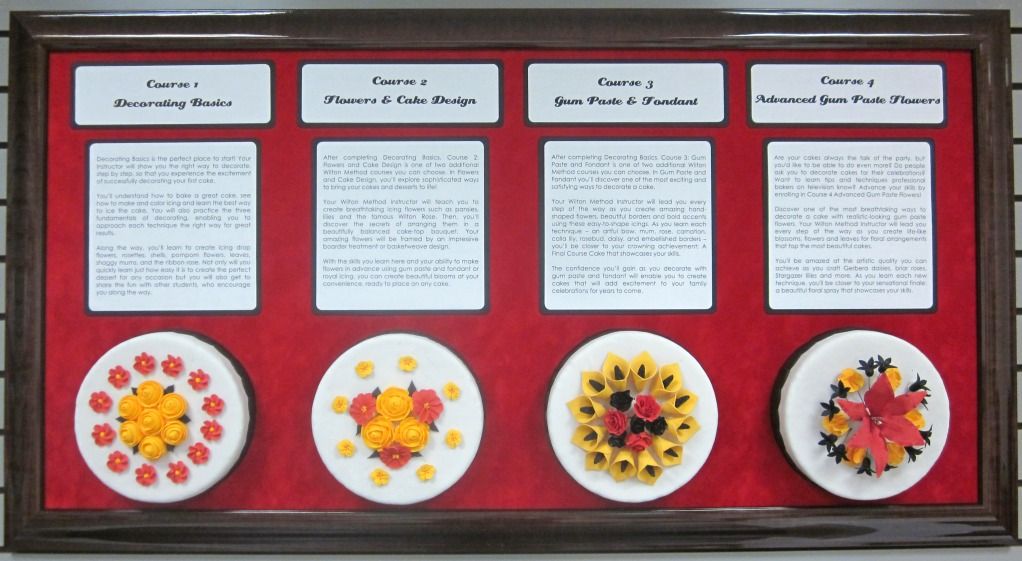
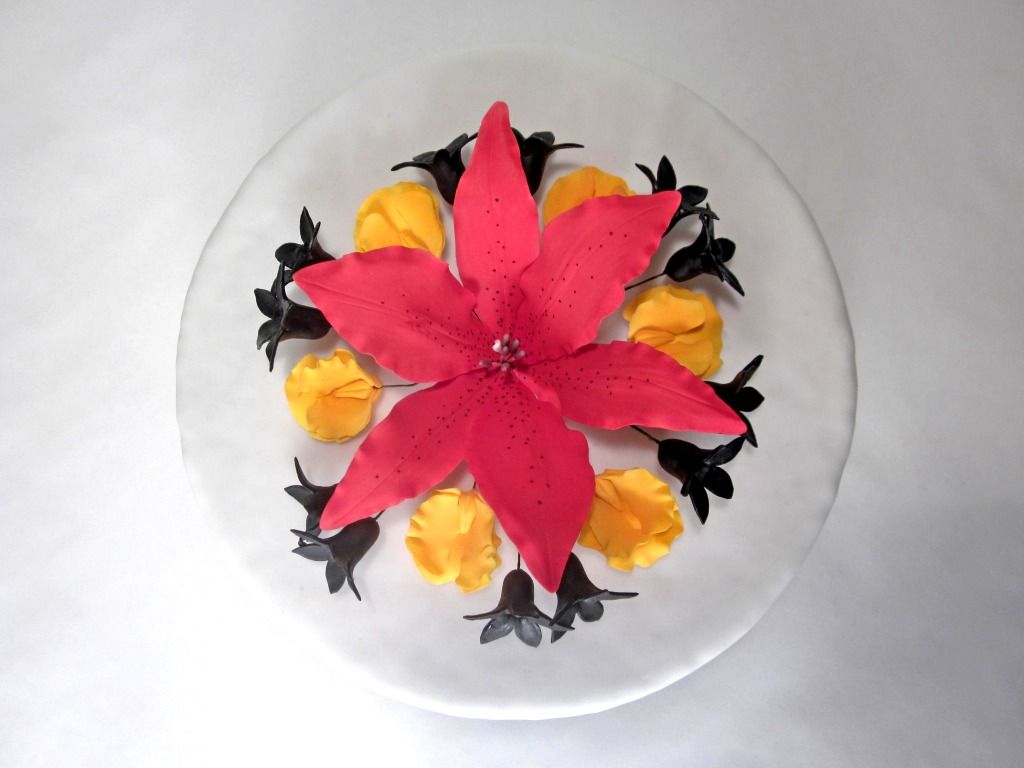
I designed the cakes with a central arrangement so that they would all look similar and keep the design of the whole board very symmetrical. My friend, Kim, pointed out that each cake was like the same design at a different level. I guess without really thinking about it, that's what I was doing. I had the same colors, the same centered design, and the same flowers (at the different skill levels).
The first two cakes' flowers are made with royal icing and the second two are gum paste. They are each using only flowers that you learn in each course. I tried to use as many different flowers on each one as possible, while still maintaining a clean design. Each cake only has two or three different flowers. If I had tried to put every flower and technique on each cake, they would have looked crowded and tacky. I wanted a clean, minimalist design. Less is more when it comes to cakes, I think.
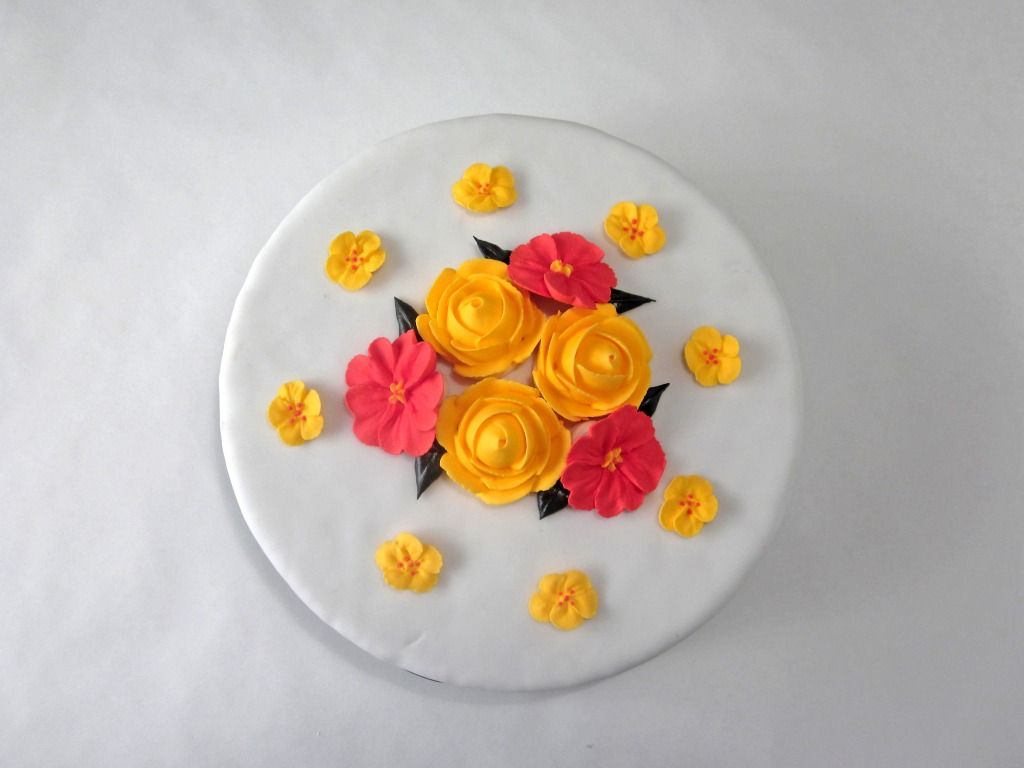
Course 1: Decorating Basics
Ribbon rose, swirled drop flower and leaves.
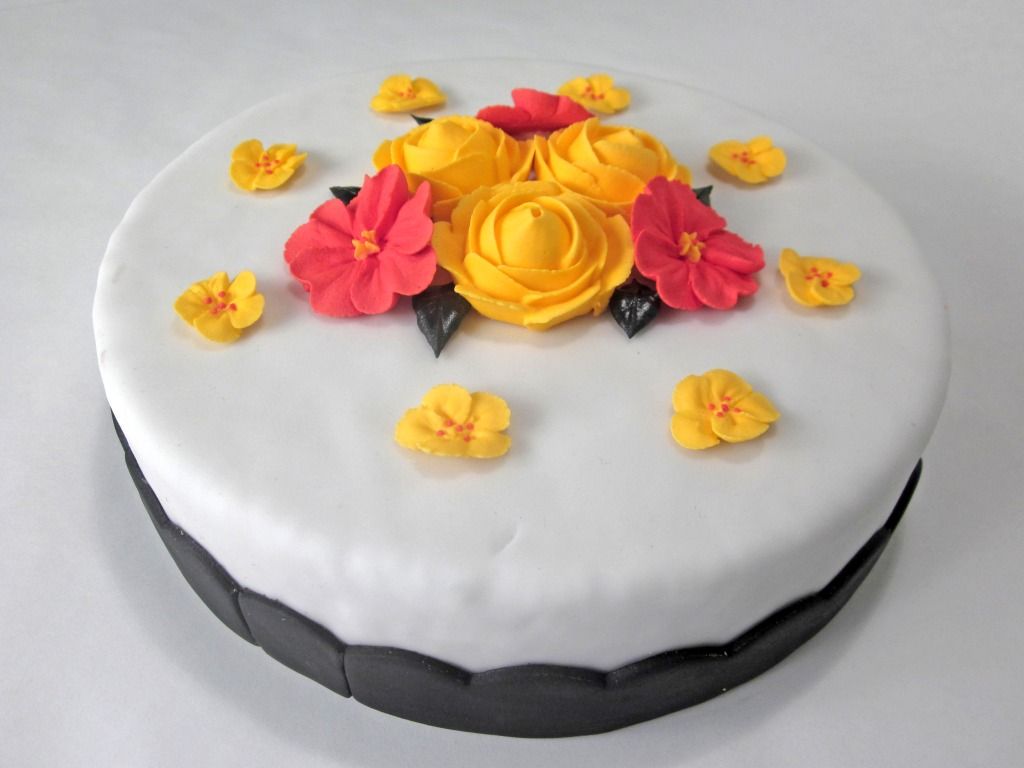
Course 2: Flowers & Cake Design
Wilton rose, primrose, apple blossom and leaves.
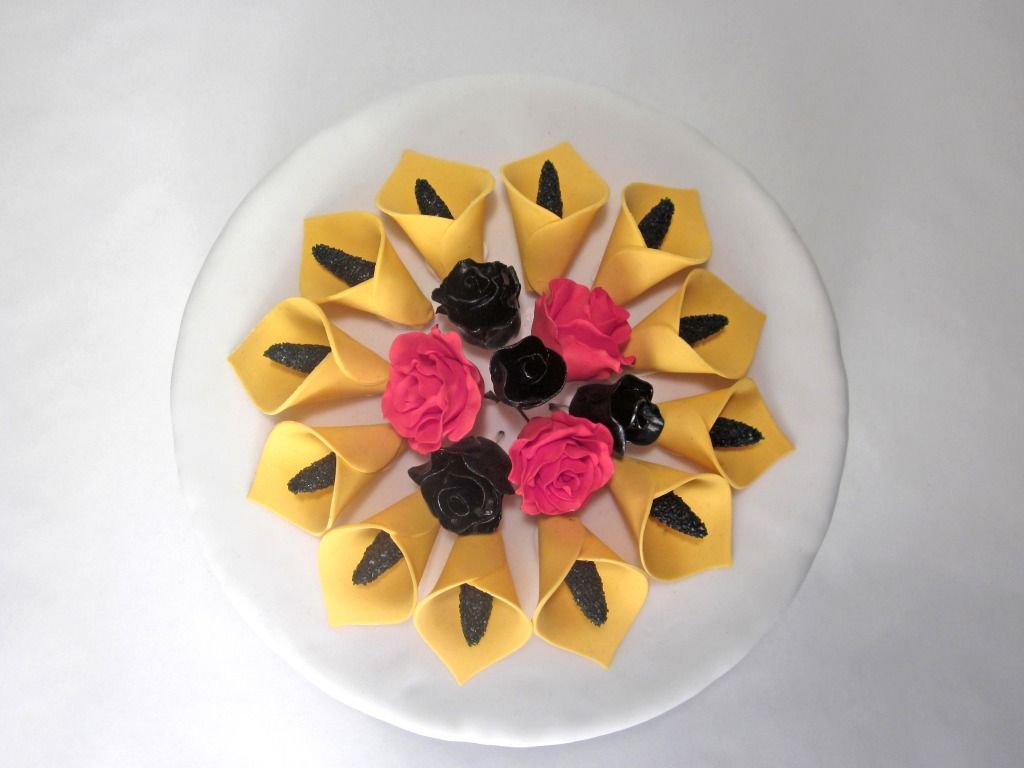
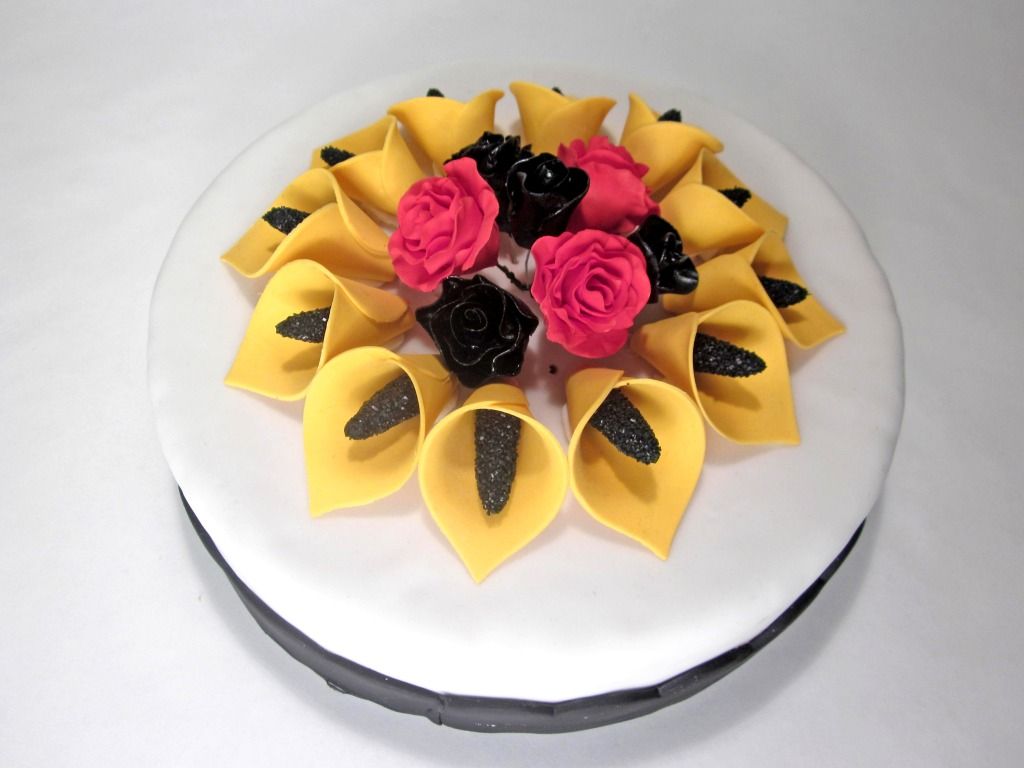
Course 3: Gum Paste & Fondant
Rose, calla lily.
Course 4: Advanced Gum Paste Flowers
Lily, sweet pea, and stephanotis.
You can see my display board in the classroom at Michaels Pinecrest (2685 Iris St. Ottawa) when you come in to sign up for classes with me! Right? ;)
No comments:
Post a Comment